When you’re using a computer, the Domain Name System (DNS) lets your devices connect to the Internet. On a Windows computer, you can use the “Control Panel” to change the DNS server. Apple computers usually use their own DNS servers. Android and iOS devices usually use the same DNS server as your router.
What is a DNS server?
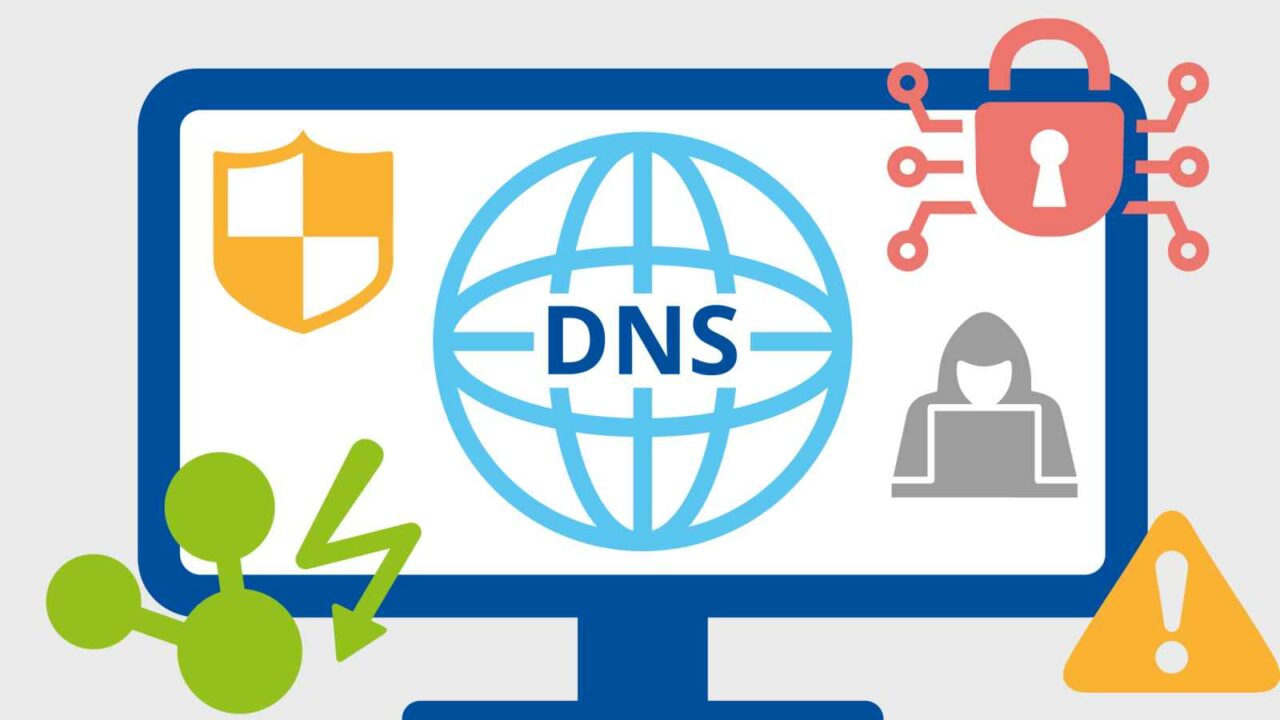
A DNS server is a program that stores the domain name system (DNS) records for a particular network. DNS is a hierarchical naming system used by computers to locate websites and other resources on the internet. When you type in the domain name of a website, your computer contacts your DNS server to retrieve the IP address for that website. Similarly, when you want to access a resource on the internet using an IP address instead of its domain name, your computer contacts your DNS server to find the appropriate record for that IP address.
How do I change the DNS server on my Windows, MacBook, Android, iOS and routers?
If you’re looking to change your DNS server on a Windows, MacBook, Android, iOS or router, there are a few different ways to go about it. Here’s how to do it on each platform:
Windows: Open Control Panel and click on Network and Internet. Under the heading “Network Connections,” right-click on the connection you want to change and select Properties. In the Properties window, click on the Properties button next to the “DNS” tab. In the “DNS” dialog box, scroll down to the “Server Address” field and enter the new DNS server address. Click OK to close the Properties window.
Macintosh: Open System Preferences and select Network. Under the heading “Network Connections,” click on the connection you want to change and select Properties. In the Property window that opens, click on the Advanced button and then in the TCP/IP section of the resulting dialog box, enter the new DNS server address. Click OK to close the Property window.
Android: Open Settings and select Network settings. Underneath “Wi-Fi,” find your current network and tap on it once. On the resulting screen, scroll down until you see “IP Address.” Tap on
What are the benefits of changing your DNS server?
On a personal level, if you own a computer or smartphone, changing your DNS server can improve security and privacy. For example, using Google’s public DNS servers instead of your ISP’s DNS servers can protect you from tracking by advertisers and spyware vendors.
On a business level, it’s important to switch to a different DNS server if your company has an internal network and its employees are using outside sources for their internet browsing (like at work). By default, many routers use the DNS servers provided by your ISP, which can lead to problems when those servers are blocked or congested.
In this article, we’ll show you how to change your DNS server on Windows, macOS, Android devices and iOS devices.
How to Change Your DNS Server on Windows:
1) Open the Start menu and type “cmd” into the search bar. When cmd appears in the results, right-click on it and select “Run as administrator.”
2) At the command prompt, type “ipconfig /dns” and hit Enter. You’ll see a list of current IP addresses and their corresponding DNS servers.
3) To change your DNS server, type in the new address
How to change the DNS server on Windows
If you’re having trouble connecting to certain websites, it might be because your computer is using the wrong DNS server. To change your DNS server, follow these steps:
1. Open the Control Panel by clicking on Start, then Control Panel.
2. Under Network and Internet, click on Network and Sharing Center.
3. In the left column, under Connections, right-click on your current connection (WiFi or Ethernet) and select Properties.
4. On the General tab, under DNS Servers, click on Change (or add) a DNS Server or Add an Existing DNS Server.
5. In the Address field, type the IP address of the DNS server you want to use (for example, 8.8.8.8).
6. In the Port field, type 53 (the default port for most DNS servers). Click on OK to save your changes.
7. Restart your computer if prompted to do so.
How to change the DNS server on macOS
If you’re having trouble connecting to a website or experiencing intermittent issues with your internet connection, it might be time to change your DNS server.
To change your DNS server on macOS, open System Preferences and select the Network icon. From the list of options on the left, select “Advanced” and then click on the “DNS” button. In the “DNS Servers” pane that opens, click on the “+” button next to the “Default DNS Server” entry and enter the new DNS server address into the text box. Click on “OK” to save your changes and restart your macOS computer for them to take effect.
If you’re having trouble connecting to a website or experiencing intermittent issues with your internet connection, it might be time to change your DNS server. To change your DNS server on Windows, open Command Prompt (located in Windows 10), type dnslookup [website] and press Enter. You can also try using one of the following methods:
– On a desktop PC: Open Control Panel > Network and Internet > Change adapter settings > Right-click on the network adapter you want to
How to change the DNS server on Android
Android devices use the built-in DNS server by default. To change the DNS server on Android, open the Settings app and select Network & Internet. Under “Network settings,” tap the “DNS” option. Tap the “Server” tab and select a new DNS server. For more information, see Change your Android device’s DNS server.
Windows 10, 8.1, 8, 7, Vista and XP users can change their DNS server by following these steps: Open the Control Panel. Under Programs, click Windows Update. In the left pane, under Available updates, click Change settings for your computer. In the right pane, under Download updates from Microsoft Update, click Change settings for your computer (advanced). Click Use a different default server (recommended). Type in the IP address or hostname of your new DNS server and click OK.
Mac users can change their DNS server by following these steps: Open System Preferences > Network > System Preferences (or open Apple menu > System Preferences > Network > System Preferences). Click Advanced > TCP/IP: In the “DNS Servers” section, type in the IP address or hostname of your new DNS server and click OK.
iOS users can
How to change the DNS server on routers
Changing the DNS server on a router can be useful for a number of reasons. For example, if you are having trouble connecting to a certain website or if you want to switch to a different DNS server for better performance.
There are a few different ways to change the DNS server on a router. This guide will walk you through each option and explain why you might choose one over the other.
Change the DNS Server in the Router’s Settings
The easiest way to change the DNS server on most routers is to go into the router’s settings and select the “DNS” tab. There, you will see a list of available DNS servers. You can then click on the one you want to use and enter the new IP address or hostname for the DNS server.
If you are using an older router, it may not have this feature built-in. In that case, you will need to purchase an additional DNS module from your router manufacturer or find another alternative method of changing the DNS server.
: History, FAQs, Dates, Activities, and Facts")
: Activities, History, FAQs, Dates, and Facts About Plumbing")

: Activities, FAQs, Dates, History, and Facts")
: Activities, History, FAQs, and Dates")