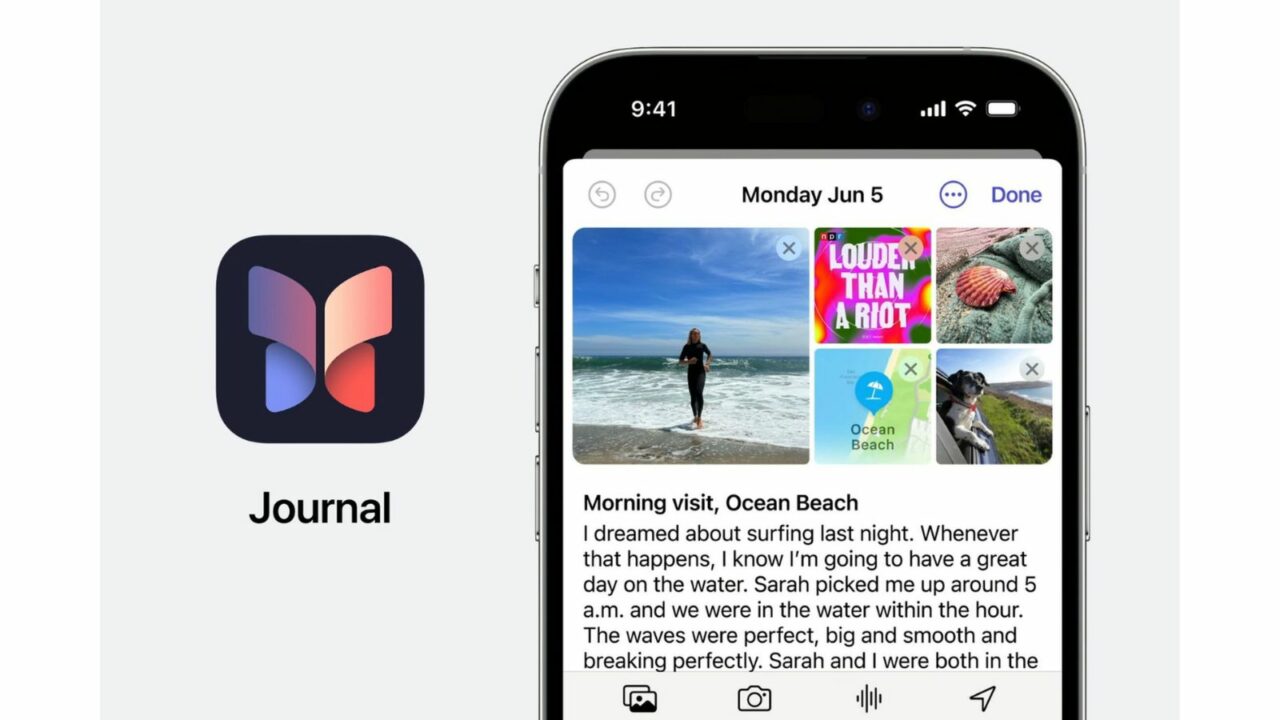
Using Journal App on Your iPhone: The Journal app for iPhones is another way that Apple is trying to help its users take better care of their mental health. You can write in the book app like you would in a real book, keeping track of your thoughts, special times, and more.
But the diary app can do a lot more and has a lot of cool tools that make it easy to write in your diary. Let’s say you’re having trouble writing in your journal or just want to get more out of the app. Here are 11 tips that will help you do that.
Here are 12 ways to get the most out of the iPhone Blog app.
These 11 tips will help you get the most out of the iPhone Journal app. The tips below will help you whether you’re having trouble with a new post or just want to change how you experience it. Allow us to begin!
1. Inspirational ideas can help you begin
Go to Settings > Privacy & Security > Journaling Suggestions > Turn on suggestions you like.
The best thing about the Journal app is that it can help you write down your thoughts if you’re having trouble coming up with a post. These are called “Reflections.” This might help you keep up your run and keep writing in your book even if you don’t want to. You can also use Reflections to make daily notebook notes automatically if you want to write the same thing every day to keep track of your thoughts. So, whether you’re having trouble writing an entry or want to write the same entry every day, ideas can be very helpful.
2. Put the Journal app on lock.
Go to Settings > Journal > Lock Journal > Enter Passcode > Turn on “Lock” > Require Passcode > Pick the length of time you want to record GIF guide:
Concerned about nosy people? Then it might be helpful to lock the Journal app. The Journal app can lock itself with your usual security method, like a passcode or Face ID, like many other apps. This way, your journal notes will be safe even if you share your computer with someone else. The above tips should make it easy for you to lock your iPhone’s Journal app for more privacy.
3. Set a time to write in your journal
Go to Settings > Journal > Writing Schedule > Schedule should be on. Tap “Time,” then pick the time you want. Tap and pick the days you want > Check to see if alerts are off and turn them on.
Have trouble writing in your book every day? You could then make a plan for writing in your diary to help you remember to do the same. You can set up a writing plan in the app that fits your needs, whether you want to write entries every day, every other day, or only on the weekends. Making a plan for writing in your notebook can help you with this too. You won’t have to worry about remembering to write in your book because the app will remind you based on the plan you set.
Note: Make sure that notifications are turned on so that the Journal app can send you messages at the right time. Go to Settings > Notifications > Journal > Turn on “Allow Notifications” > Customize Notifications to do the same thing.
How to Detect if Someone is Hiding Their Story from You (newsd.in)
4. Save photos from your writing sessions in the Photos app.
It is possible to include pictures and videos in your journal notes. You might find this useful when writing about a place you’re going or a significant event in your life. You can remember places or important events in your life by taking pictures or videos and adding them to your journal notes. But when you’re making these posts, it can be annoying to have to open one every time you want to see a picture or video, especially if you want to share it with someone. Then, the “Save to Photos” button will let you add pictures and videos from your new journal entries right to the Photos app. As soon as you turn it on, any new photos or videos you add to a journal post will also be added to the Photos app.
5. You can get ideas as you type a new entry
To make a new entry, go to Journal > Plus (+) and select New Entry or choose a Reflection > New Entry. Press the suggestion button on top of the keys > Choose your best option.
Having trouble writing a new post in your journal? Or maybe you want to add some thoughts to the piece you’re writing in your book right now? It can be helpful to get suggestions whether you’re writing a new post or changing an old one. Because of this, if you want to add a thought or missed writing an entry in your diary, the suggestions button above the keyboard can help you do that. You can use either of the above guides to help you use ideas when writing a new post or editing an old one.
6. Write down your ideas instead
Journal > Press the plus sign (+) to add a new item > Make a new entry or pick a reflection > Click on the waveform icon higher up on the screen > Press to record > When you’re done recording, tap the “Stop” button.
Not interested in typing? Or you don’t want to miss anything because you’re typing? Then you can write something in your journal instead. You can record sounds with journal notes, which makes it easy to write down your thoughts without having to type them all out. This feature can also help you if you want to add audio that you want to remember later or nearby sounds that might help you remember a certain event in your life. Recording sound is a great way to add a little more meaning to your journal notes while still letting you experience a moment.
7. Add places to help you remember which items are important
To make a new entry, go to Journal > Plus (+) > New Entry or pick a reflection > Location icon above the keyboard > New Entry. Choose a place from “Near Me” or “In My Journal > You can also use the search bar at the top to find and choose the place.
When you start writing in a book, the app can quickly fill up with a lot of notes. This is a good sign that you’re on the right track, but it might get hard to tell some journal entries apart, especially if you’re using suggested Reflections to write them. This is why attaching an important place can help you quickly tell these journal entries apart. It’s helpful to be able to add areas when writing entries about a certain place or when writing entries that involve a plan. Locations can make it easier to find diary notes and learn more about them.
8. You can make your own date for a diary post.
A quick guide:
Tap the ellipsis icon next to a note in the journal to edit it. Click the crosshair button at the top > Change the date > Choose a date > Guide to done GIFs:
As the tip says, it’s easy to change the date of a diary entry after you’ve written it. If you made a notebook post before but want to change the date to something more appropriate, this can help. You can change the date of a writing in your journal to any date you want, whether it’s a memory or notes about an upcoming event or date. This can also help you write about an event or date from the past in your book. Changing the dates of your notebook entries can help you keep them in order. Later, you can use filters to find the ones that are important based on the dates they were written. You can use either of the above guides to fix a date on your iPhone for a notebook entry.
9. Mark articles you want to read again
Report > Click on the ellipsis icon next to the entry you want to save > Save this GIF guide:
Making notes in your journal easier to find later will be made easier if you bookmark them. This can help you remember important events, comments, and other parts of your life without having to go through all of your notebook entries. Bookmarking posts is a great idea if you find yourself looking through them to find the ones you read most often. Either of the above guides will help you save diary notes on your iPhone’s diary app.
10. Change the journaling ideas to fit your wants
You can turn off ideas you don’t want by going to Settings > Privacy & Security > Journaling ideas.
You can get ideas for Reflections from your pictures, locations, friends, and other things in the Journal app. This can make it easier to write in your blog about what’s going on in your life right now. Not only can you quickly write about where you are, but you can also write about someone you’re meeting or recent photos you’ve taken. But these ideas can sometimes be too much of an invasion of privacy, and you may not want to see suggestions based on your friends at all. If this happens, you can change your privacy settings to help you pick the right options for your needs. For the same thing to happen on your iPhone, use either of the above guides. This will make the Journal ideas more useful to you.
11. Use the share sheet to make notes in your journal
In any app, tap the Share button > Click on Journal > Make a GIF guide for a notebook entry:
Find a picture you want to write about in your journal. You might be looking at a future event or a place you want to visit. In this case, you can use the share sheet to add media items directly to a journal entry, so you don’t have to save them first and then add them to new entries by hand. You can also add links to diary notes with the share sheet. You can add the share sheet to a notebook post as long as you can get to it in an app. Video files that aren’t accepted will be put as links that can still be used to watch the videos.
12. Get the most out of filters
Report > Click on the filter button in the upper right spot and pick the one you like best. GIF guide:
Find yourself constantly scrolling through your journal notes to get to the ones that matter? After that, filters can be very helpful. You can sort your diary entries by the amount of entries they have, their photos, where they were written, and the type of Reflections they contain. So, this can help you quickly find the diary entries you need by letting you sort them. Either of the above guides will make it easy for you to sort through your iPhone journal notes.
You should now be able to use the Journal app on your iPhone more effectively after reading these tips. Please feel free to leave your thoughts in the area below for comments.